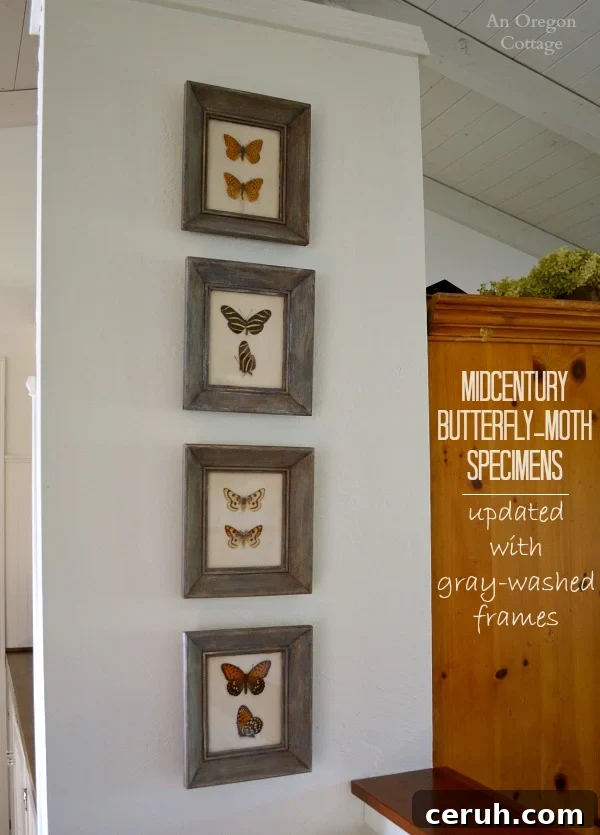
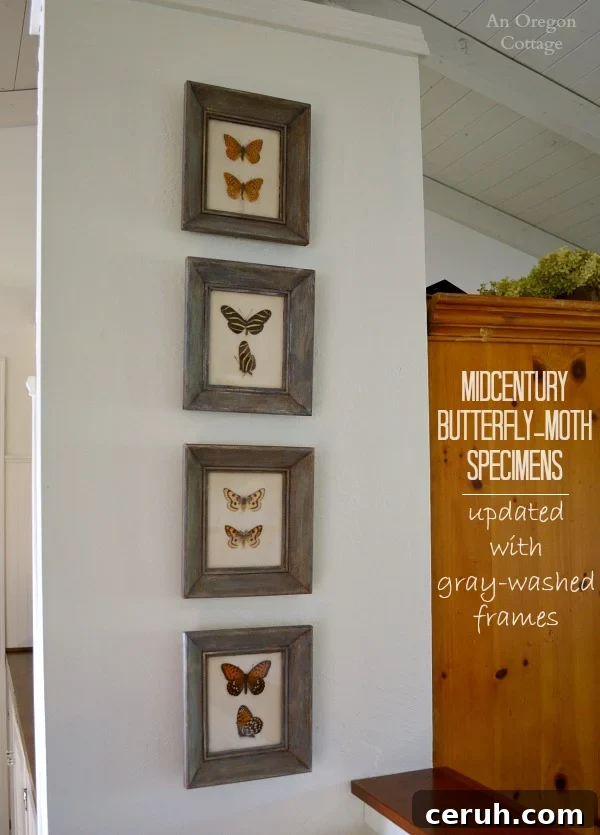
I’m excited to share a simple, satisfying frame makeover that refreshed a cherished family heirloom. These midcentury butterfly and moth specimens, crafted by my grandfather in the 1950s, always felt a bit dated because of their cream frames with gold specks. I updated the frames with a gray-wash technique—think Restoration Hardware–style weathered wood—and I love how the darker, muted tones now let the specimens stand out more and feel contemporary while still honoring their vintage charm.
Here’s what the frames looked like before:
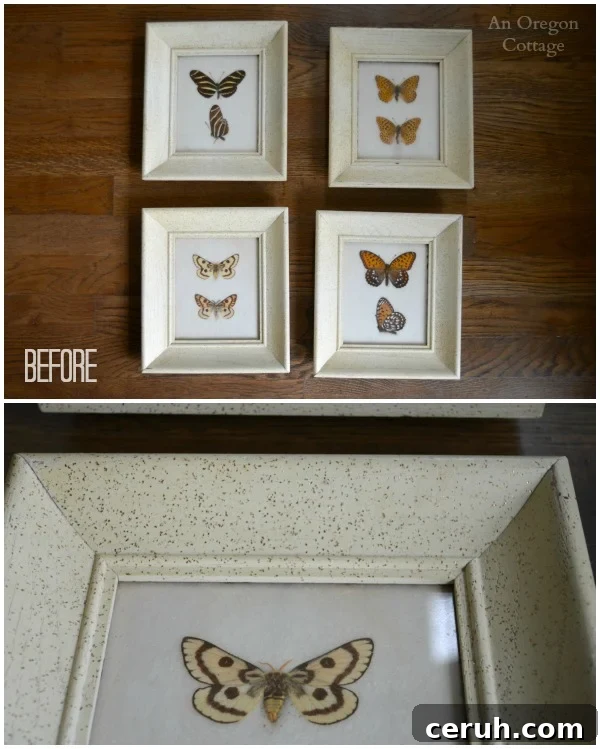
As a child I remember thinking the original frames were a little bland; as an adult the gold specks read as dated. I wanted a makeover that would modernize them without removing the character of the pieces, so I chose a layered gray-wash approach that adds depth, texture, and a weathered finish.
DIY Gray-Washed Frames How-To
Materials
- Frame(s)
- Acrylic craft paint in brown (burnt umber), warm gray (mix black into white and add a drop of brown), and a light tan (khaki tan)
- Container for mixing paint
- Medium paint brush or small foam brush
- Stiff bristle brush for dry brushing (a chalk painting brush works well)
- Paper plate, paper towel or rag
- Foam sanding block
How-To
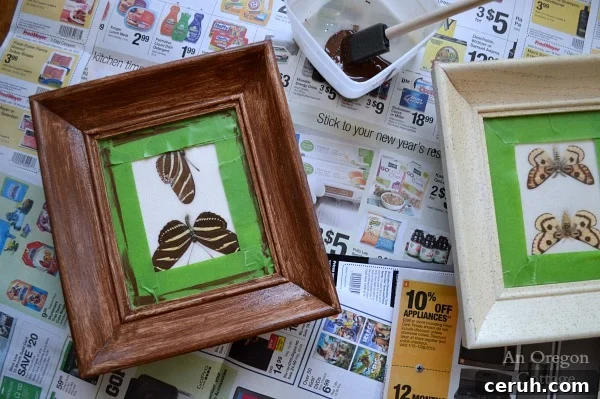
1. Prepare the frames. Remove the glass and backing if you can; if not, protect the glass and specimen with painter’s tape. For vintage pieces with original labels or fragile backs, taping off the glass keeps everything safe while you paint.
2. Paint the first layer. Apply a base coat of brown acrylic paint with a medium brush or foam brush. Brush marks and some exposed base color are fine—these will help create a textured, layered look. Allow to dry completely.
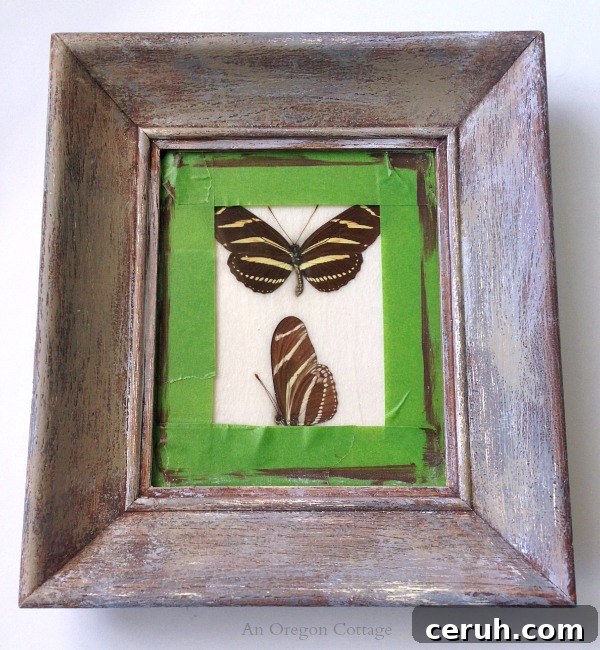
3. Dry brush the gray. Load a small amount of gray paint onto your brush, then dab most of it off onto a paper plate or towel. With quick, back-and-forth strokes hold the brush at an angle and lightly skim the frame so the brown base shows through in places. Work all sides and corners, refreshing the paint on the plate as needed. Let dry.
4. Dry brush the tan. Repeat the dry brushing technique with the tan color, using even less paint than with the gray. The tan warms and highlights the gray, so use it sparingly to balance the finish. Allow to dry.
5. Lightly sand. Use a foam sanding block to gently distress and blend the layers, focusing on edges and raised details to enhance the weathered wood effect.
Creating a gray-washed finish is an iterative, forgiving process—add or subtract layers until you get the look you want. If you prefer more gray, minimize the tan; if you want more warmth, add a touch more tan. Leaving glimpses of the original lighter paint can add depth, but you can adjust based on your starting frame color.
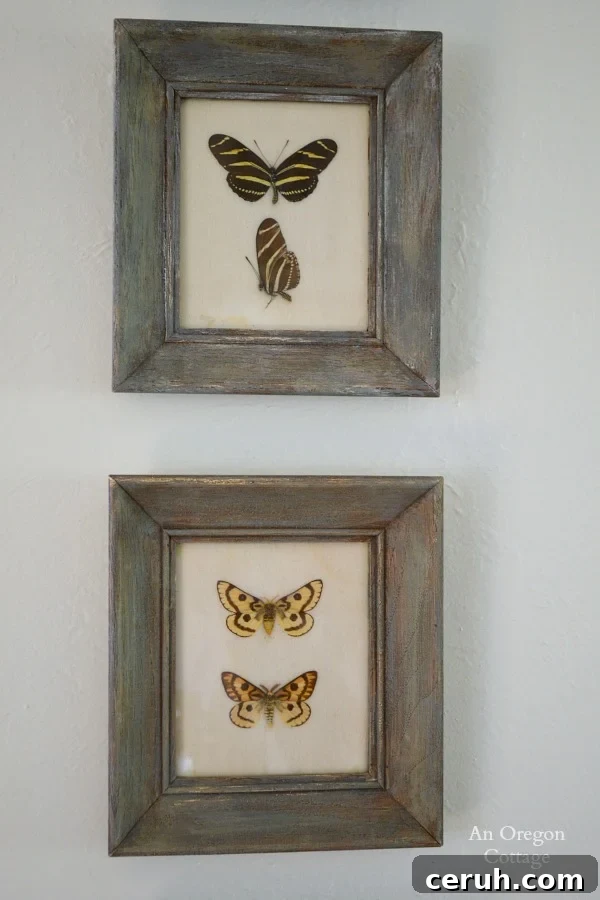
The goal is a weathered, natural wood appearance that varies slightly from frame to frame—imperfection adds character, so embrace small differences when updating multiple frames.
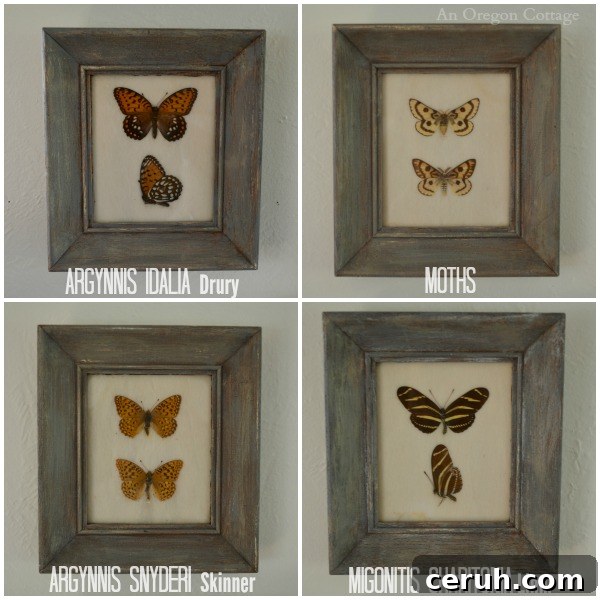
On the backs of these frames my grandfather wrote labels identifying the specimens. Some are easy to read; others are faded or ambiguous, so I can’t confirm all the names. It’s a lovely reminder of the history behind the pieces, and it made me appreciate how attractive moths can be when grouped thoughtfully alongside butterflies.
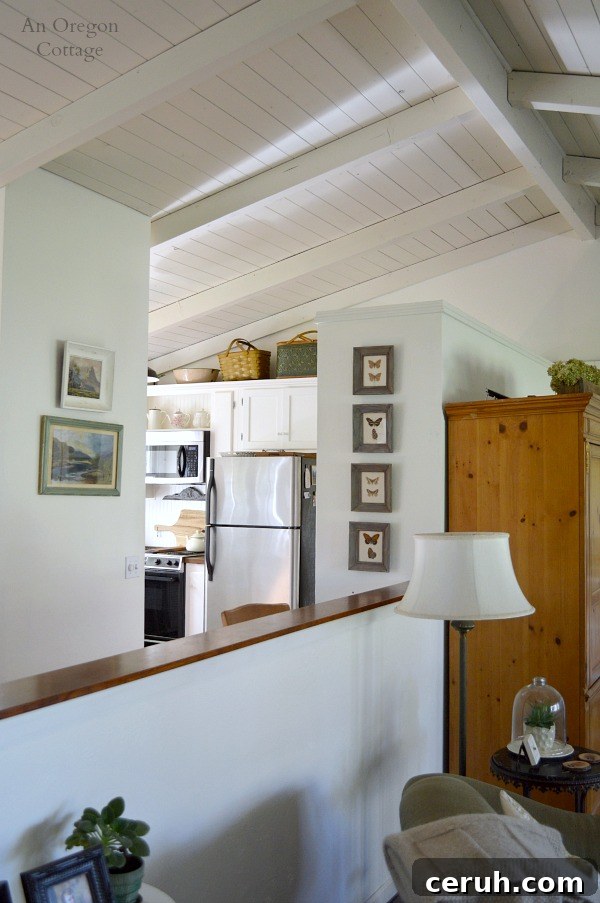
The updated frames fit this awkward wall space in our great room perfectly and even help conceal an old wall phone jack that’s been a design headache. Small improvements like this make a big difference in how a room feels.
There are always other projects on the horizon—I’m still debating whether to tackle refinishing a large pine armoire in the room. It’s full of carved details and electronics, so it’s a tougher job, but someday it will get attention.
Disclosure: this post originally included affiliate links that help support the site at no additional cost to readers.
Linked to Weekend re-Treat Party.