How to Separate Eggs – Learn 3 easy methods to separate egg whites and yolks so you can make meringues, lighten batters, improve cookie texture, and more.
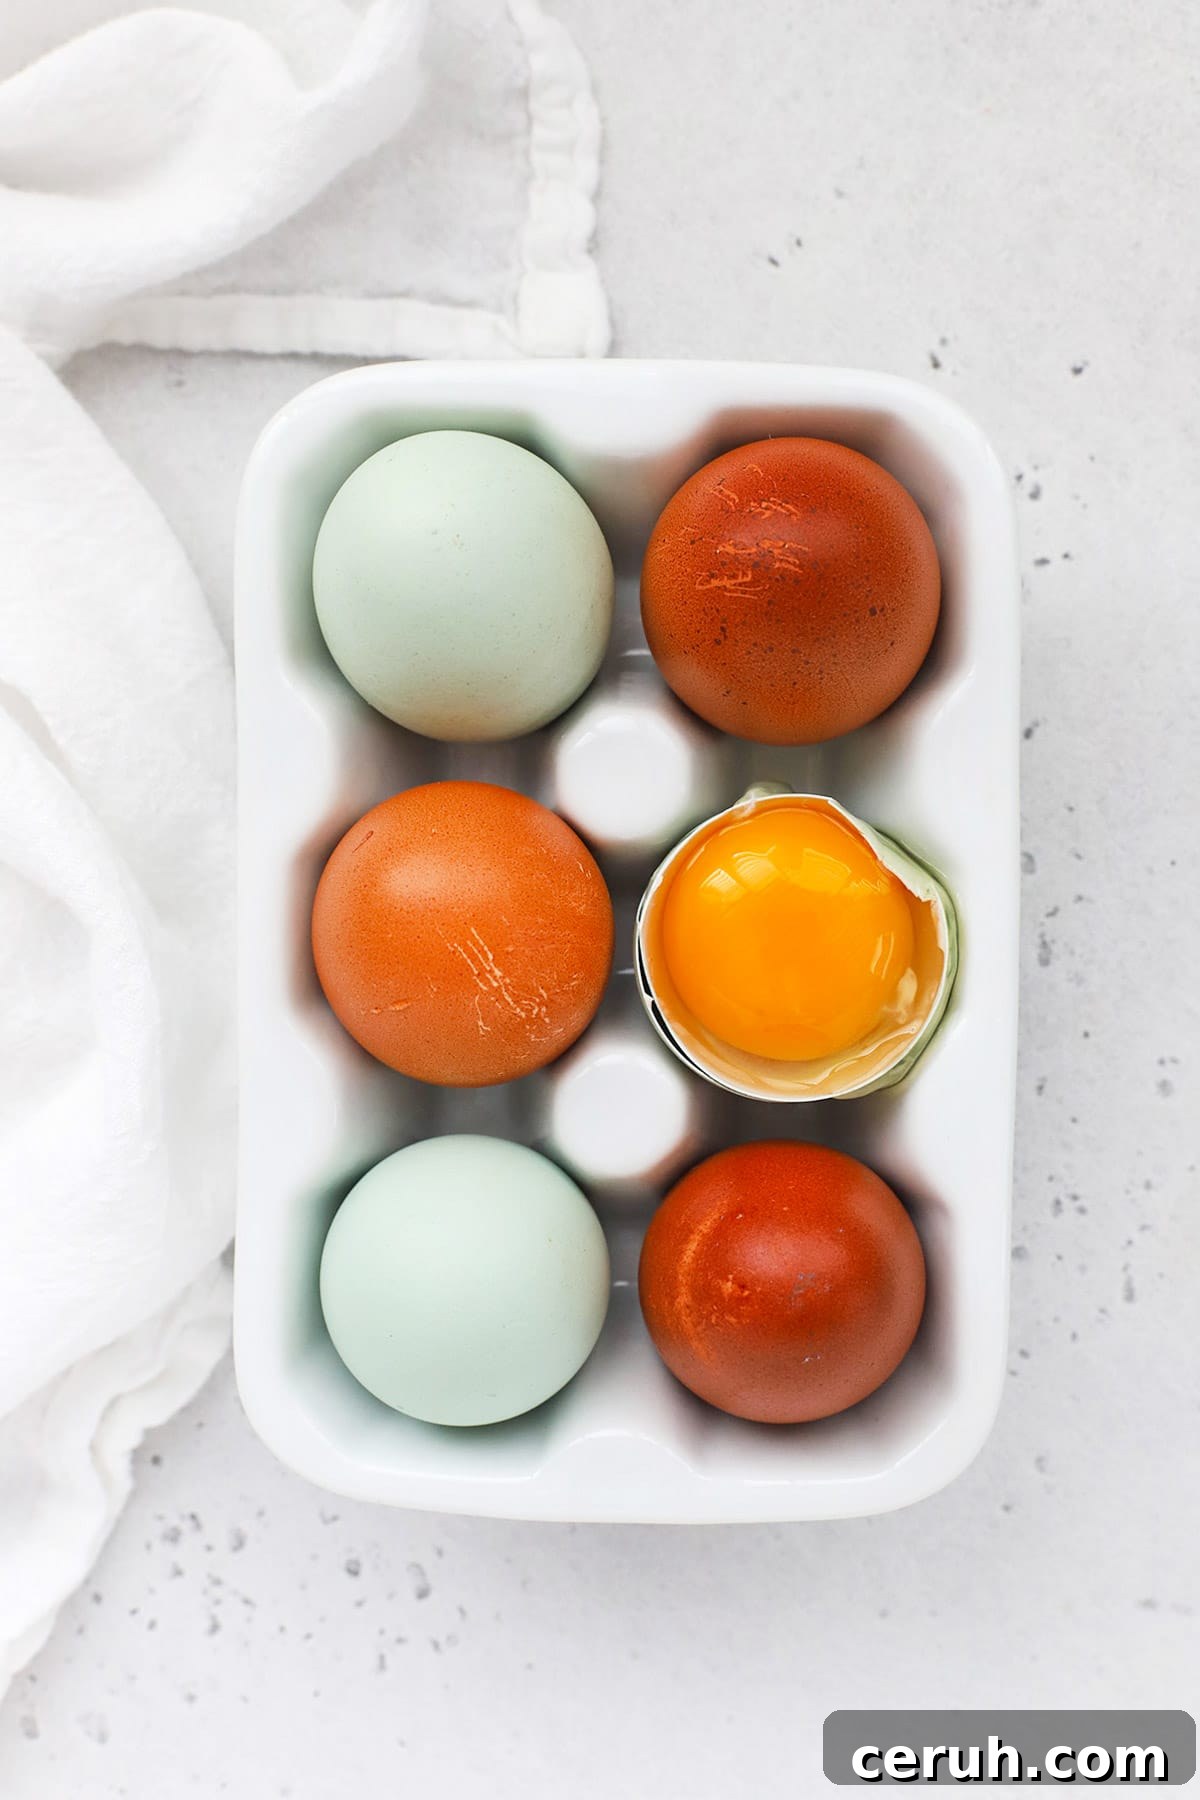
This post is part of our Be A Better Baker series and focuses on a simple but essential technique: separating eggs. For many baked goods—especially gluten-free recipes—separating yolks from whites is something I do often.
If separating eggs feels intimidating, don’t worry. With a few clear tips you’ll find it straightforward and fast.
Below you’ll find three reliable ways to separate eggs: with an egg separator, with your hands, and using the eggshell. Read on for step-by-step instructions and practical tips so you can choose the method that works best for you.
First: What Is Separating Eggs?
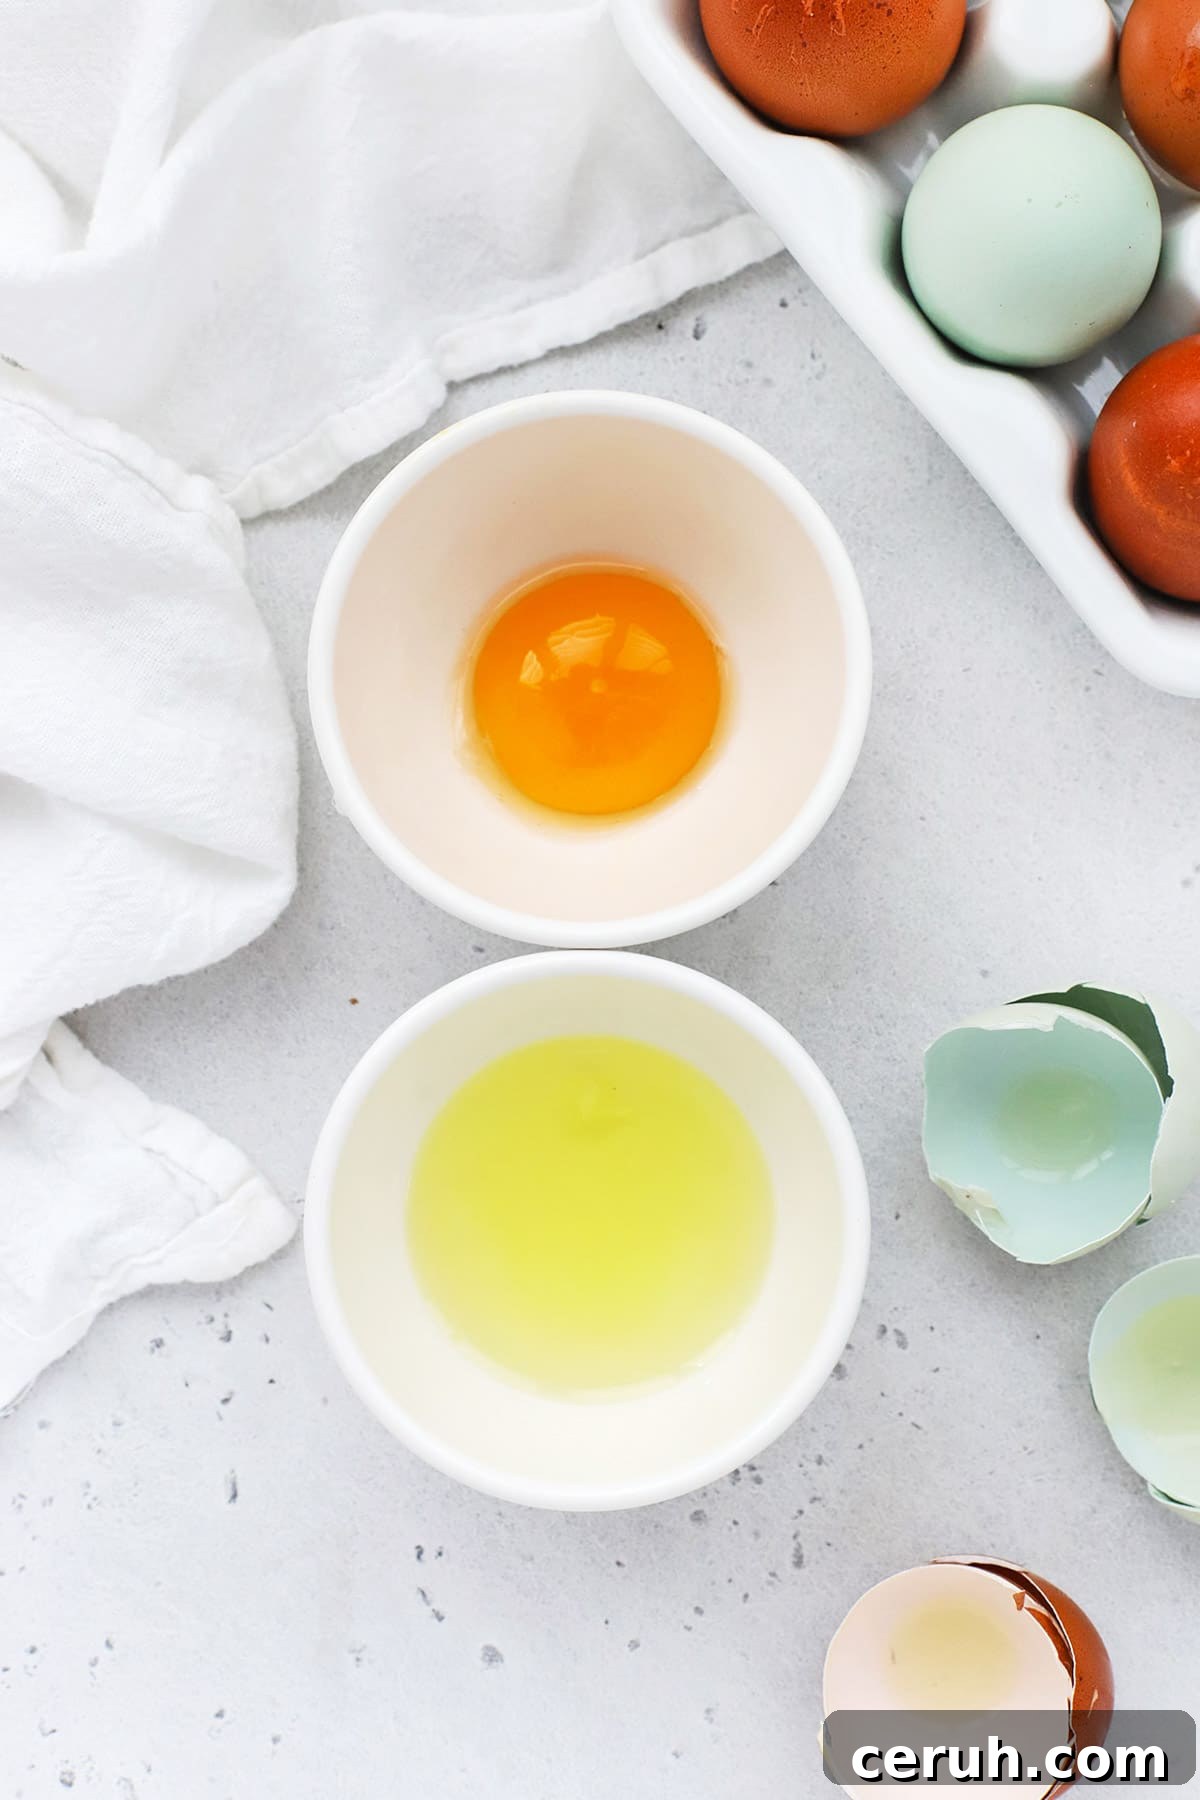
Separating eggs means removing the yolk (the yellow center) from the white (the clear, viscous albumen). Bakers separate eggs because whites and yolks play different roles in recipes—whites trap air and create structure when whipped, while yolks add fat, richness, and emulsifying power. Cold eggs typically separate more cleanly than warm ones.
Why Do You Separate Eggs?
Recipes ask you to separate eggs when they require one part of the egg by itself or when each part is incorporated at a different stage. Common reasons include:
- Whipping egg whites for meringues, macarons, angel food cake, or to lighten batters.
- Adding extra yolks to cookies or brownies for added moisture and chew.
- Thickening sauces and custards like hollandaise, custard, or homemade pudding with egg yolks.
- Lightening batter by folding whipped whites into batter after mixing yolks with the wet ingredients to create a lighter texture.
- Controlling color and texture in light-colored cakes by using whites only.
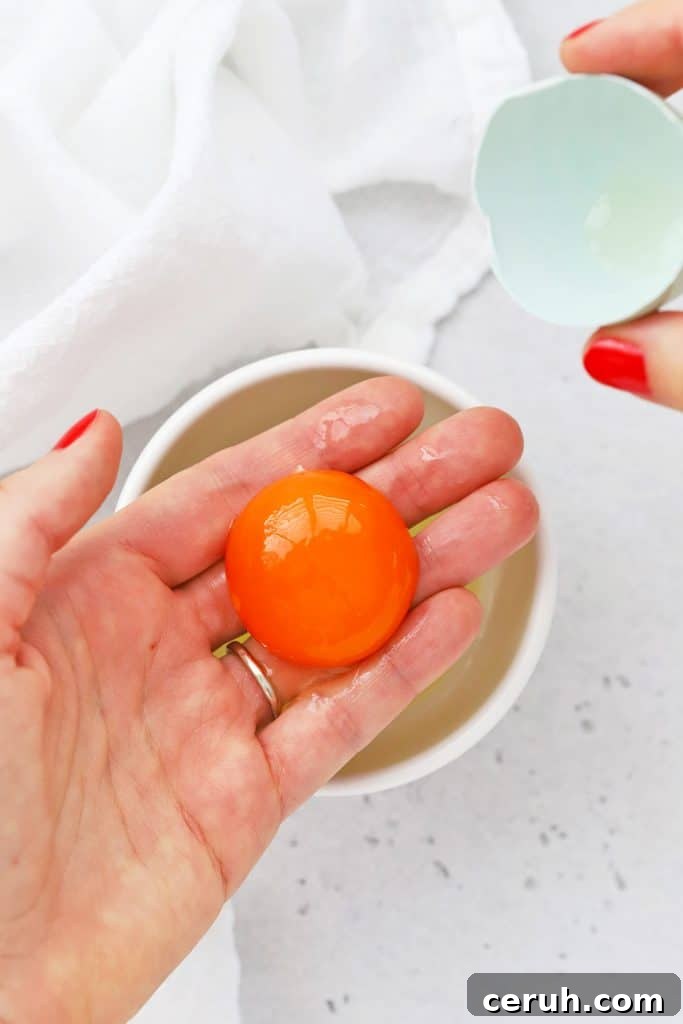
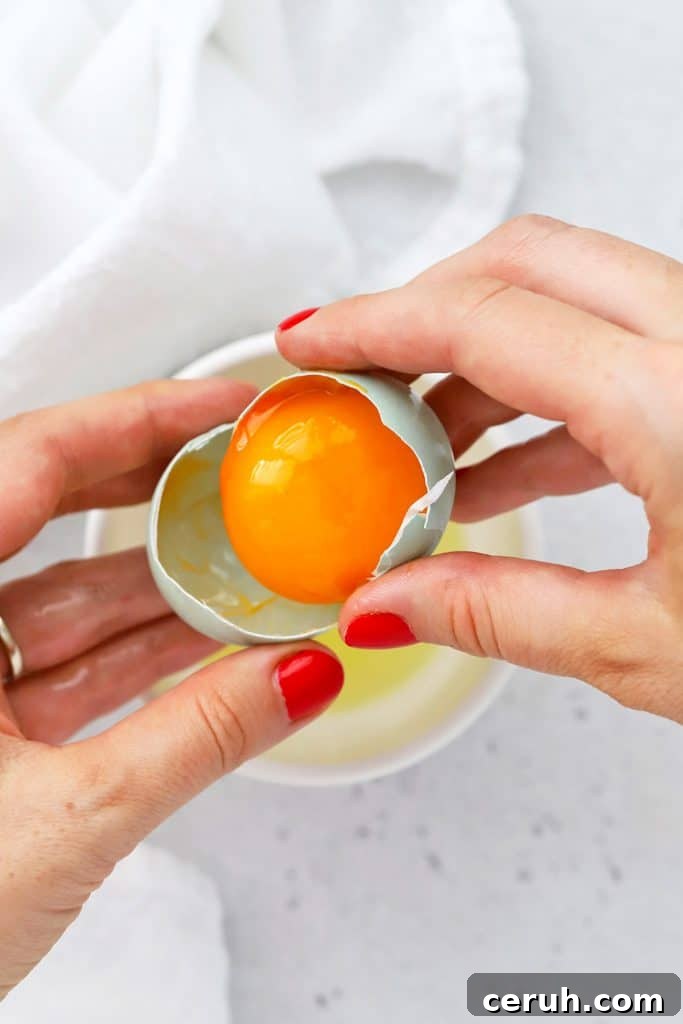
3 Easy Ways To Separate Eggs
Here are three dependable methods I use regularly. Each has advantages depending on speed, cleanliness, and what tools you have on hand:
- Egg separator – easiest for beginners
- Hands – fast and reliable once you get used to it
- Eggshell halves – my preferred method for routine use
Step-by-step instructions for each method follow so you can try them and pick the one you like.
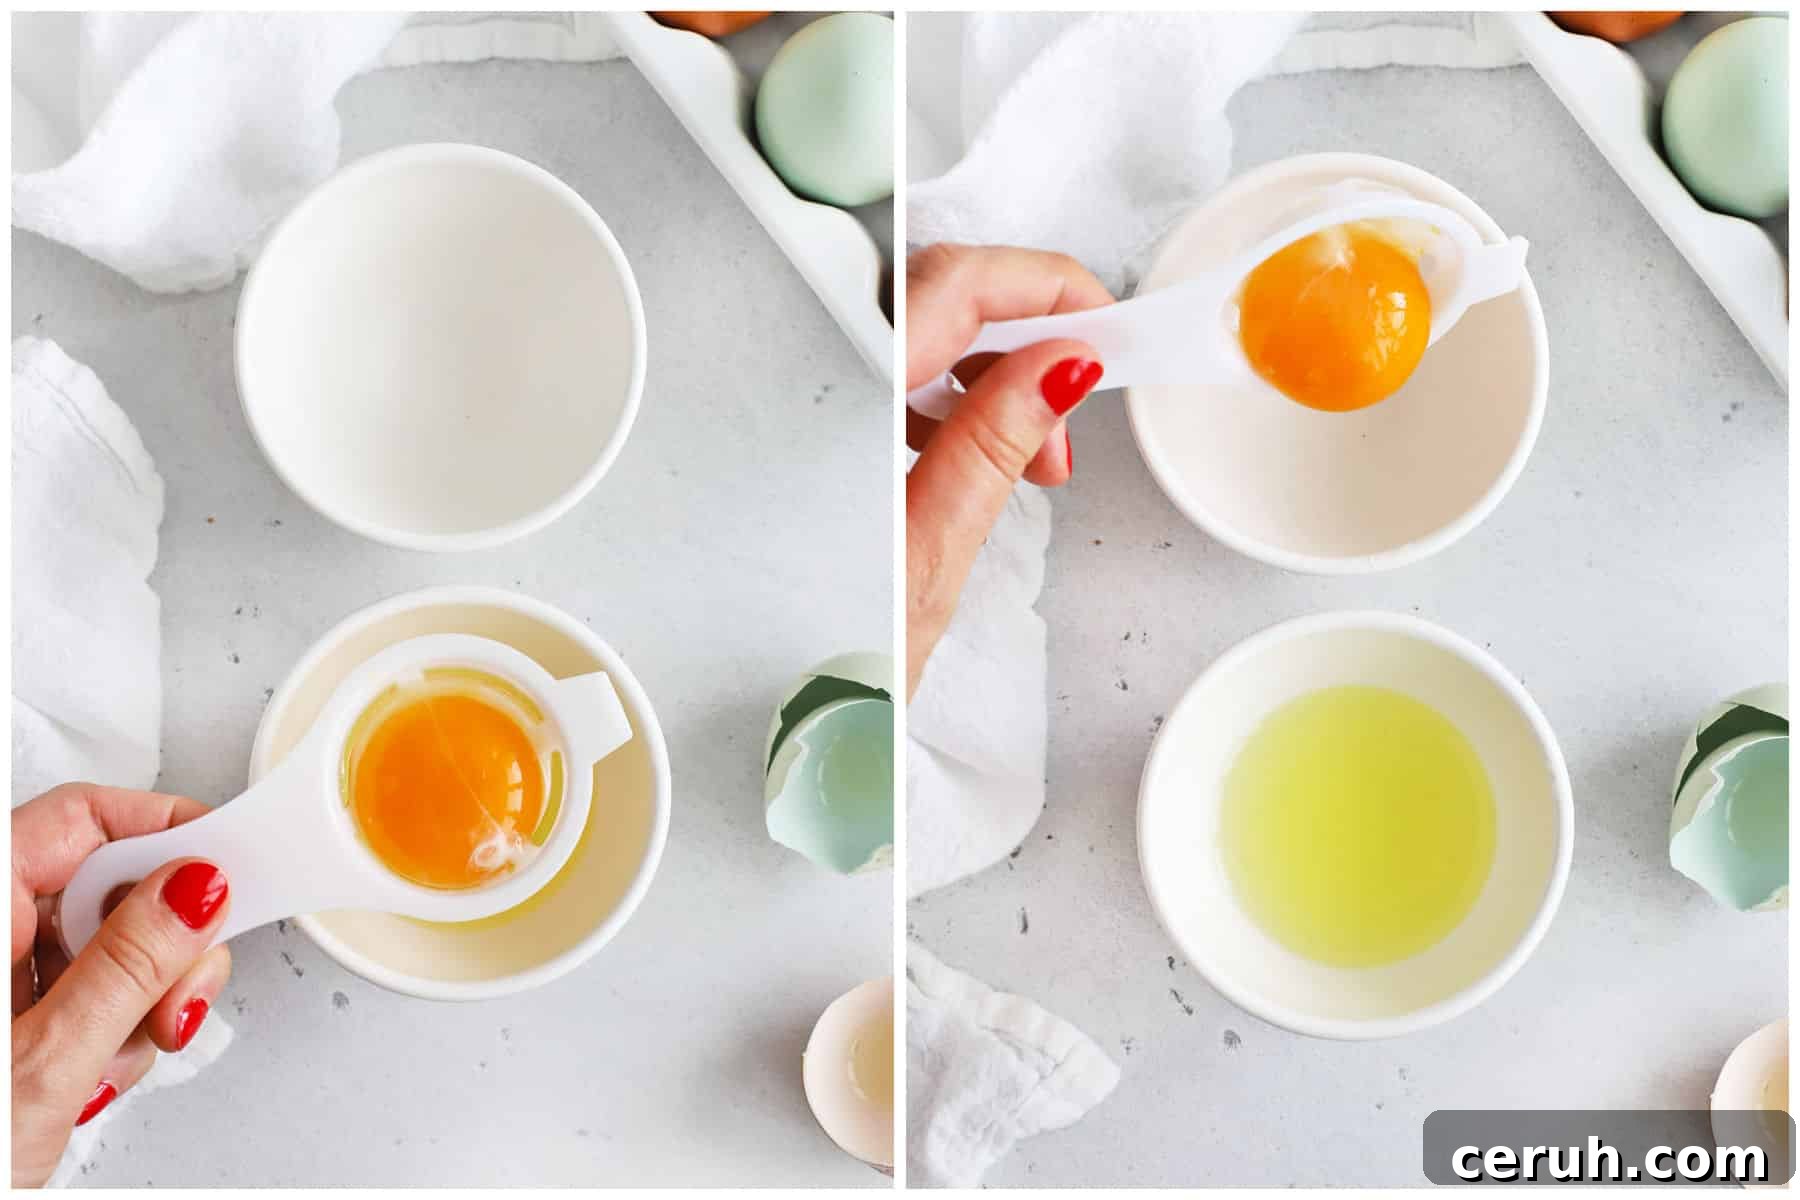
How To Separate Eggs Using An Egg Separator
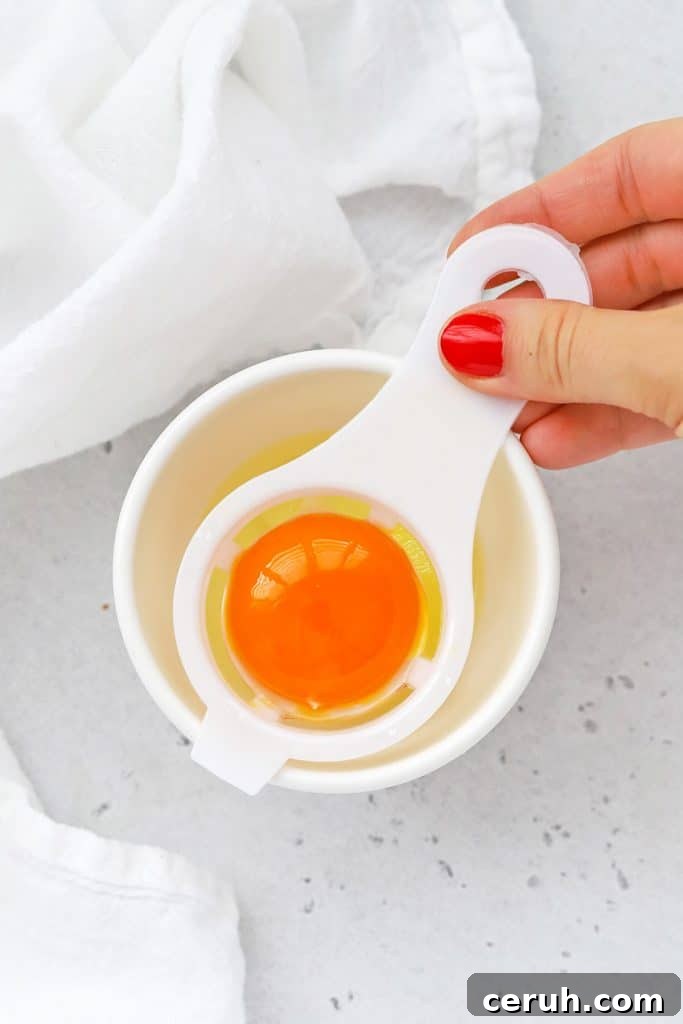
An egg separator is a small tool that holds the yolk while letting the white pass through. It’s the simplest option for beginners and very consistent.
- Prep two bowls: one for whites and one for yolks.
- Place the separator over the bowl for whites.
- Crack the egg and pour it into the separator so the white drips into the bowl and the yolk stays in the separator.
- Transfer the yolk to the yolk bowl.
- Repeat for each egg needed.
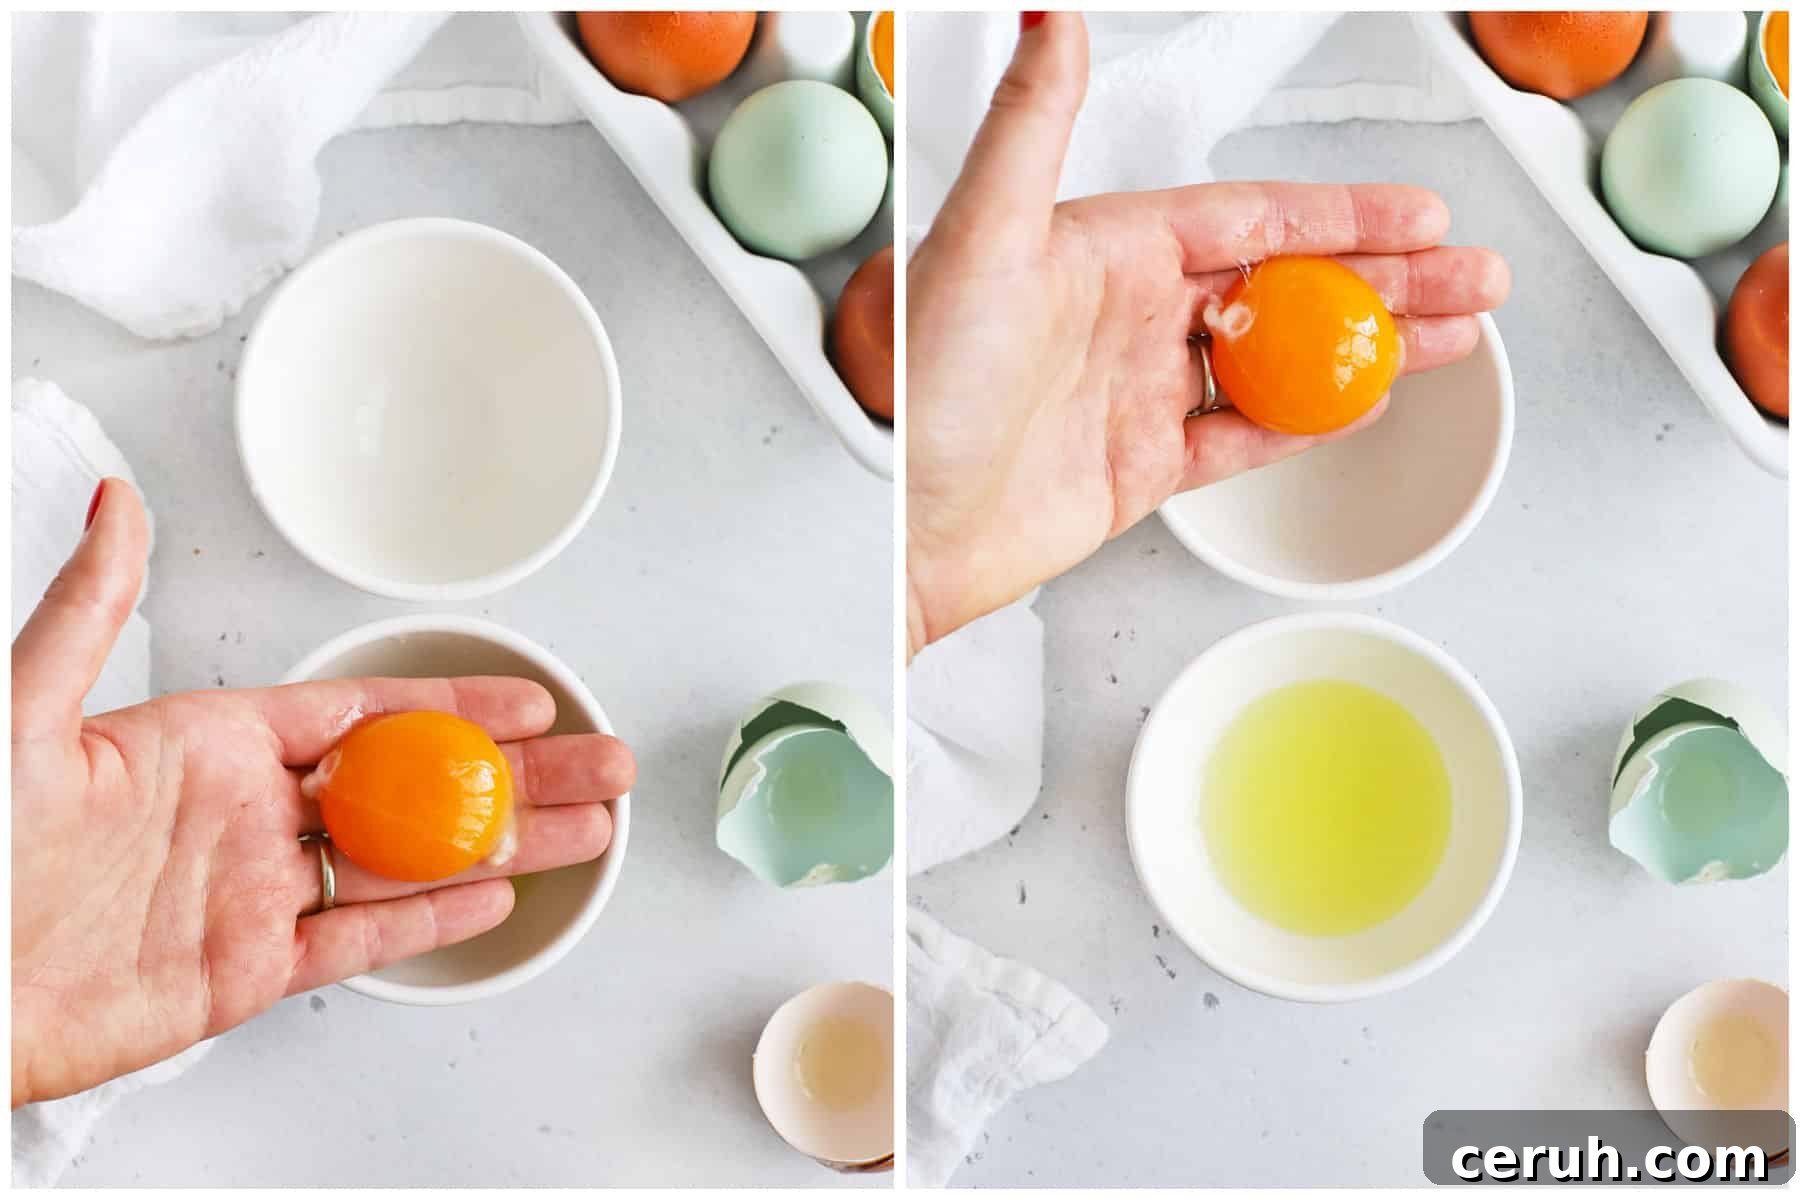
How To Separate Eggs Using Your Hands
Using your hands is a quick method that requires no tools. It can feel messy at first, but it’s easy and precise once you try it a few times.
- Prep two bowls: one for whites and one for yolks.
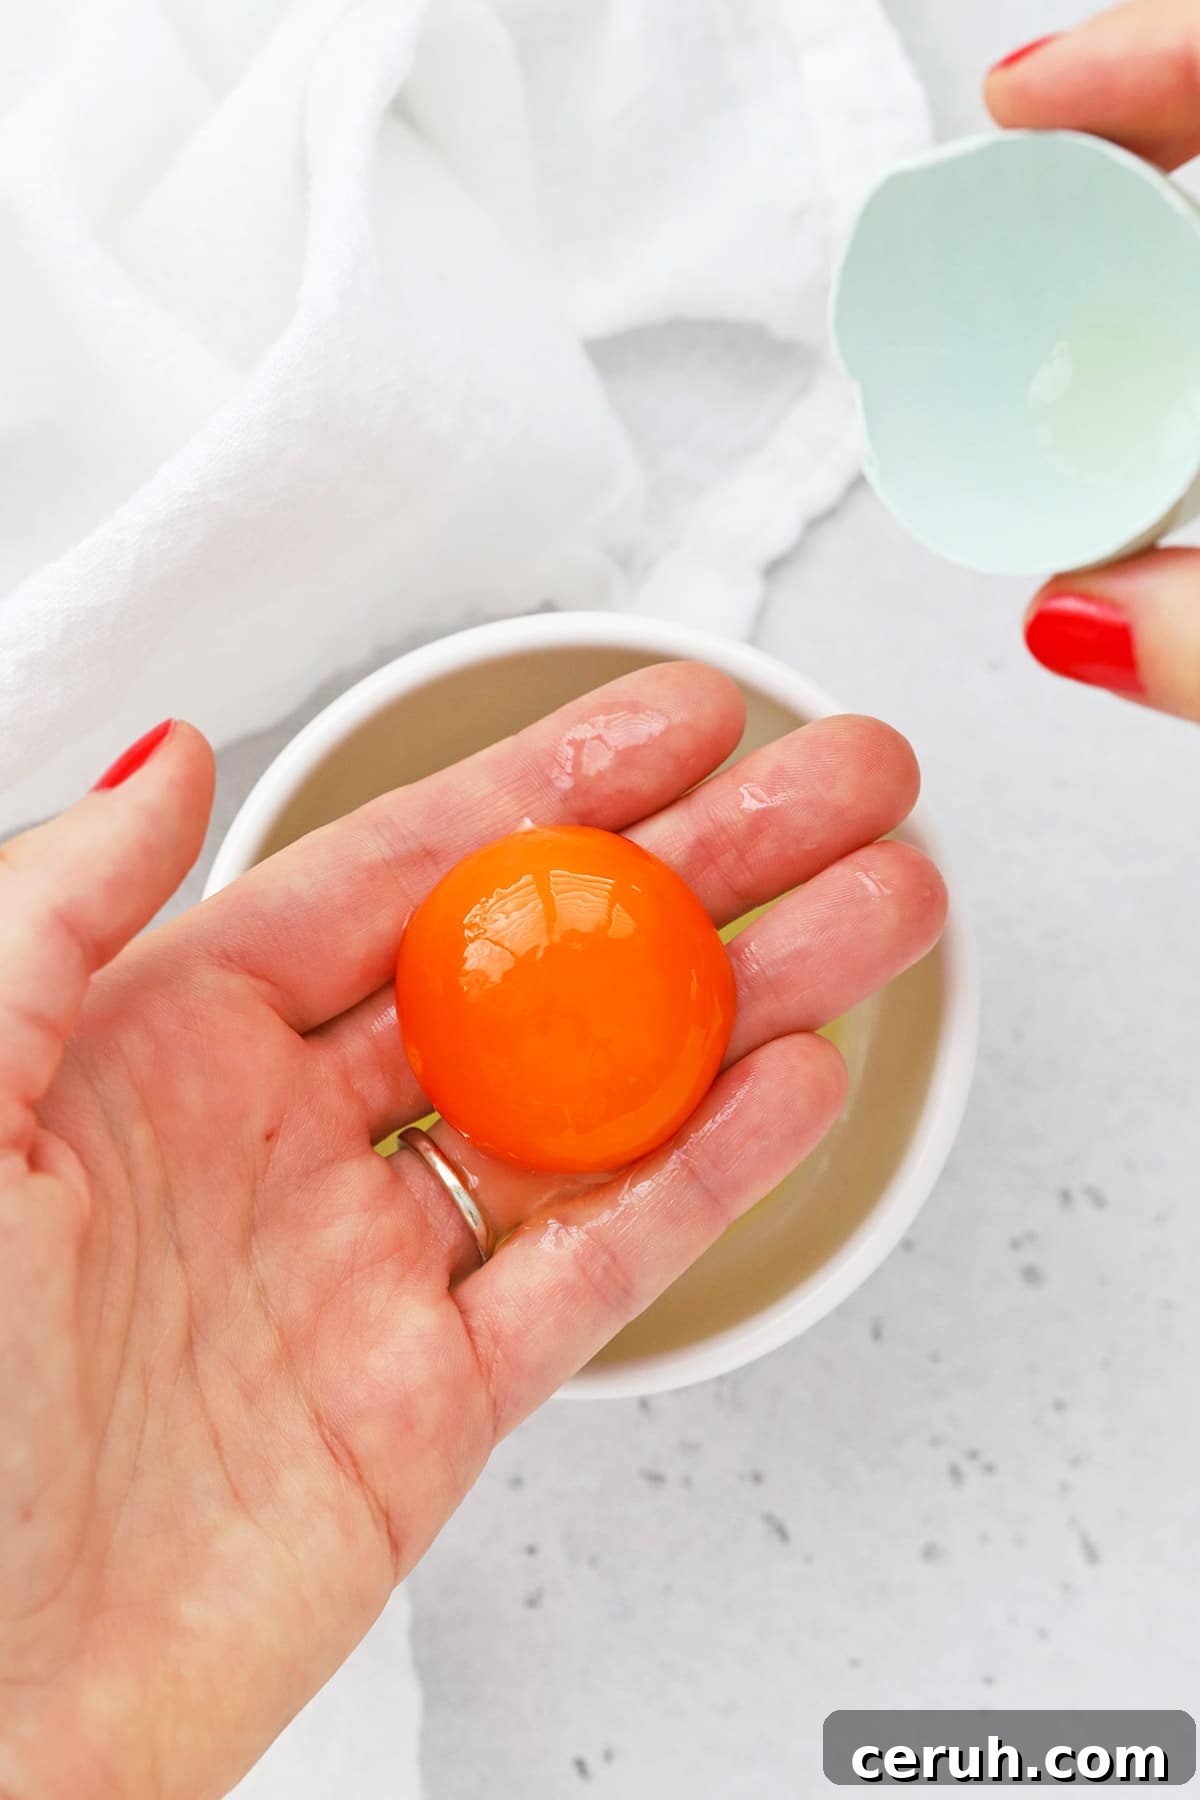
- Crack the egg and hold it over the bowl for the whites.
- Catch the yolk in your fingers with them slightly apart, letting the white slip through into the bowl.
- Move the yolk to the yolk bowl and continue with remaining eggs.
- Wash hands after you’re finished.
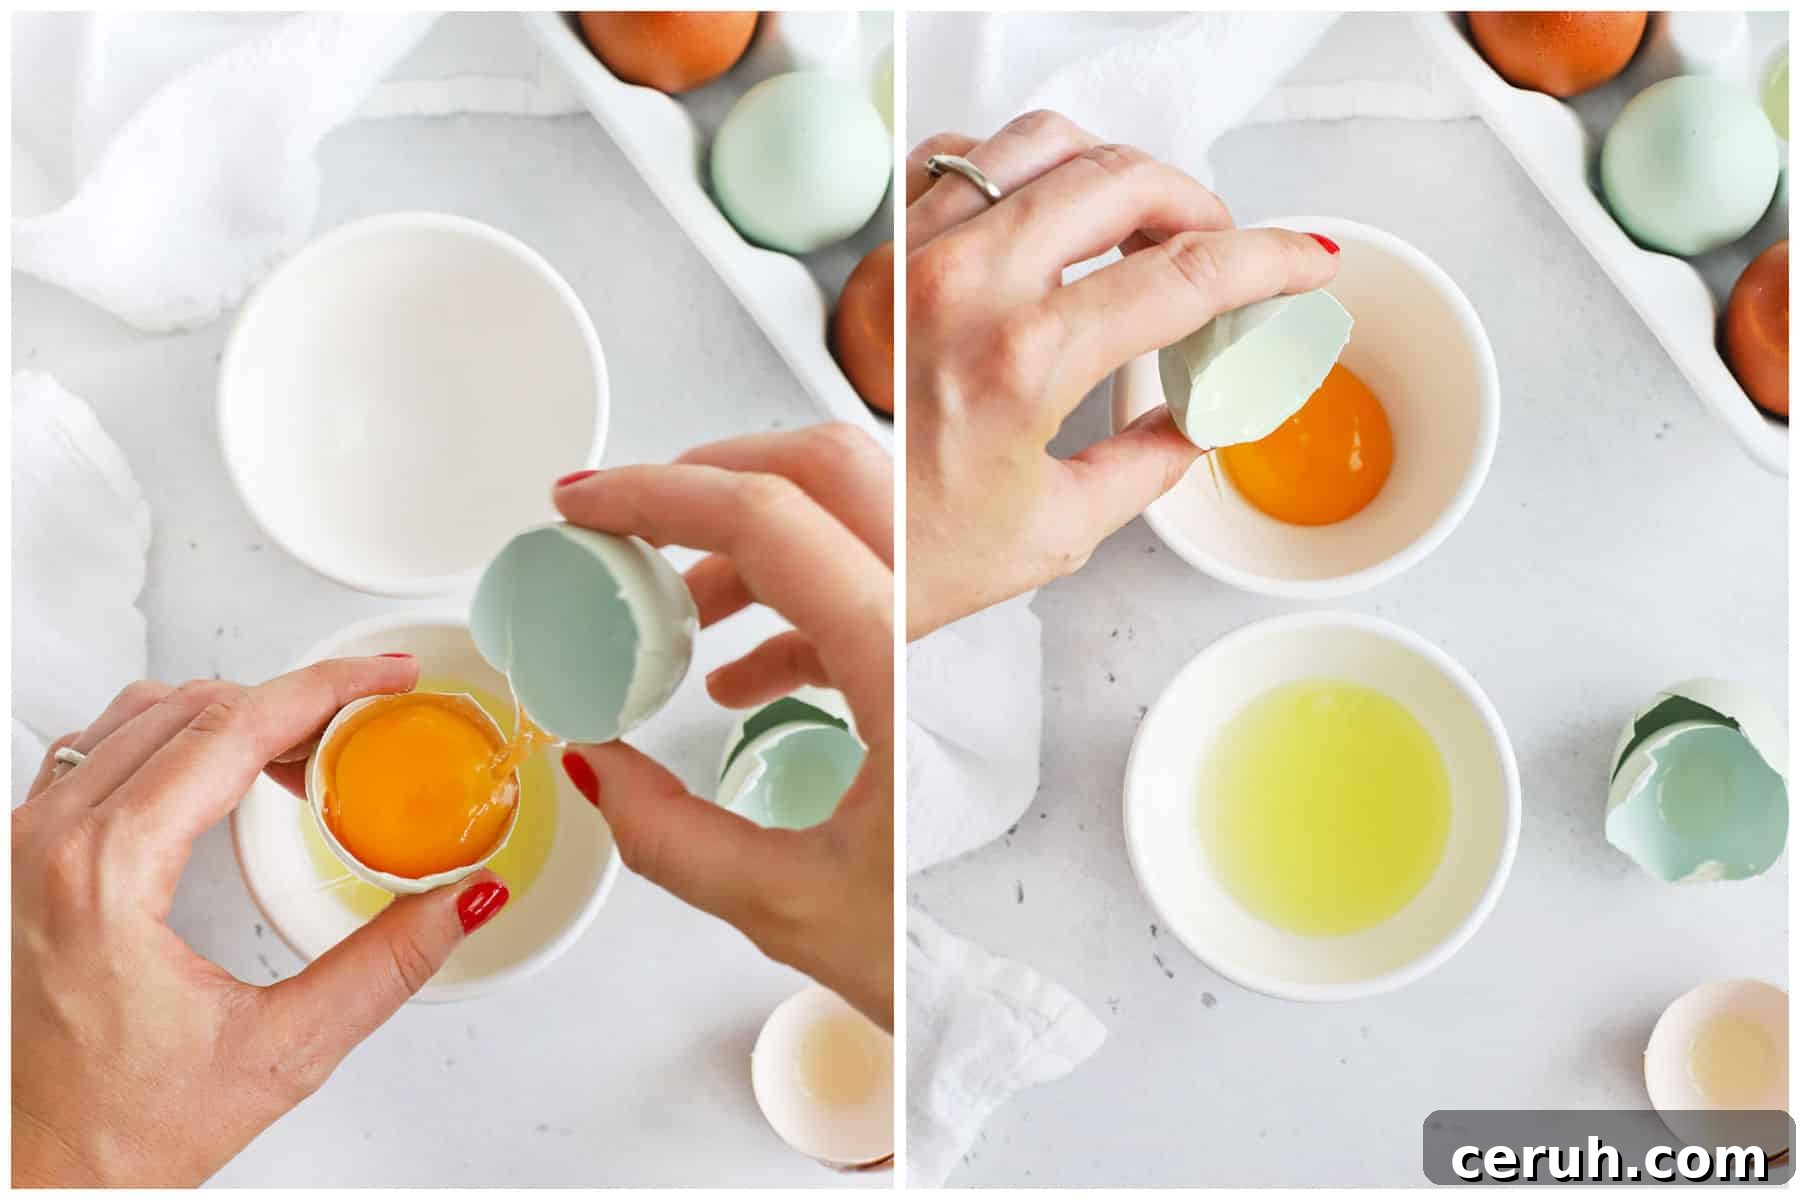
How To Separate Eggs Using The Egg Shell (My Favorite)
Using the eggshell halves is a classic approach. It keeps your hands mostly clean and requires no special tools.
- Prep two bowls: one for whites and one for yolks.
- Crack the egg cleanly in the middle so you have two halves.
- Pour the contents into one shell half and let the white slip out into the bowl while the yolk stays in the shell.
- Pass the yolk back and forth between the two shell halves a couple of times to remove remaining white.
- Transfer the yolk to the yolk bowl and repeat for additional eggs.
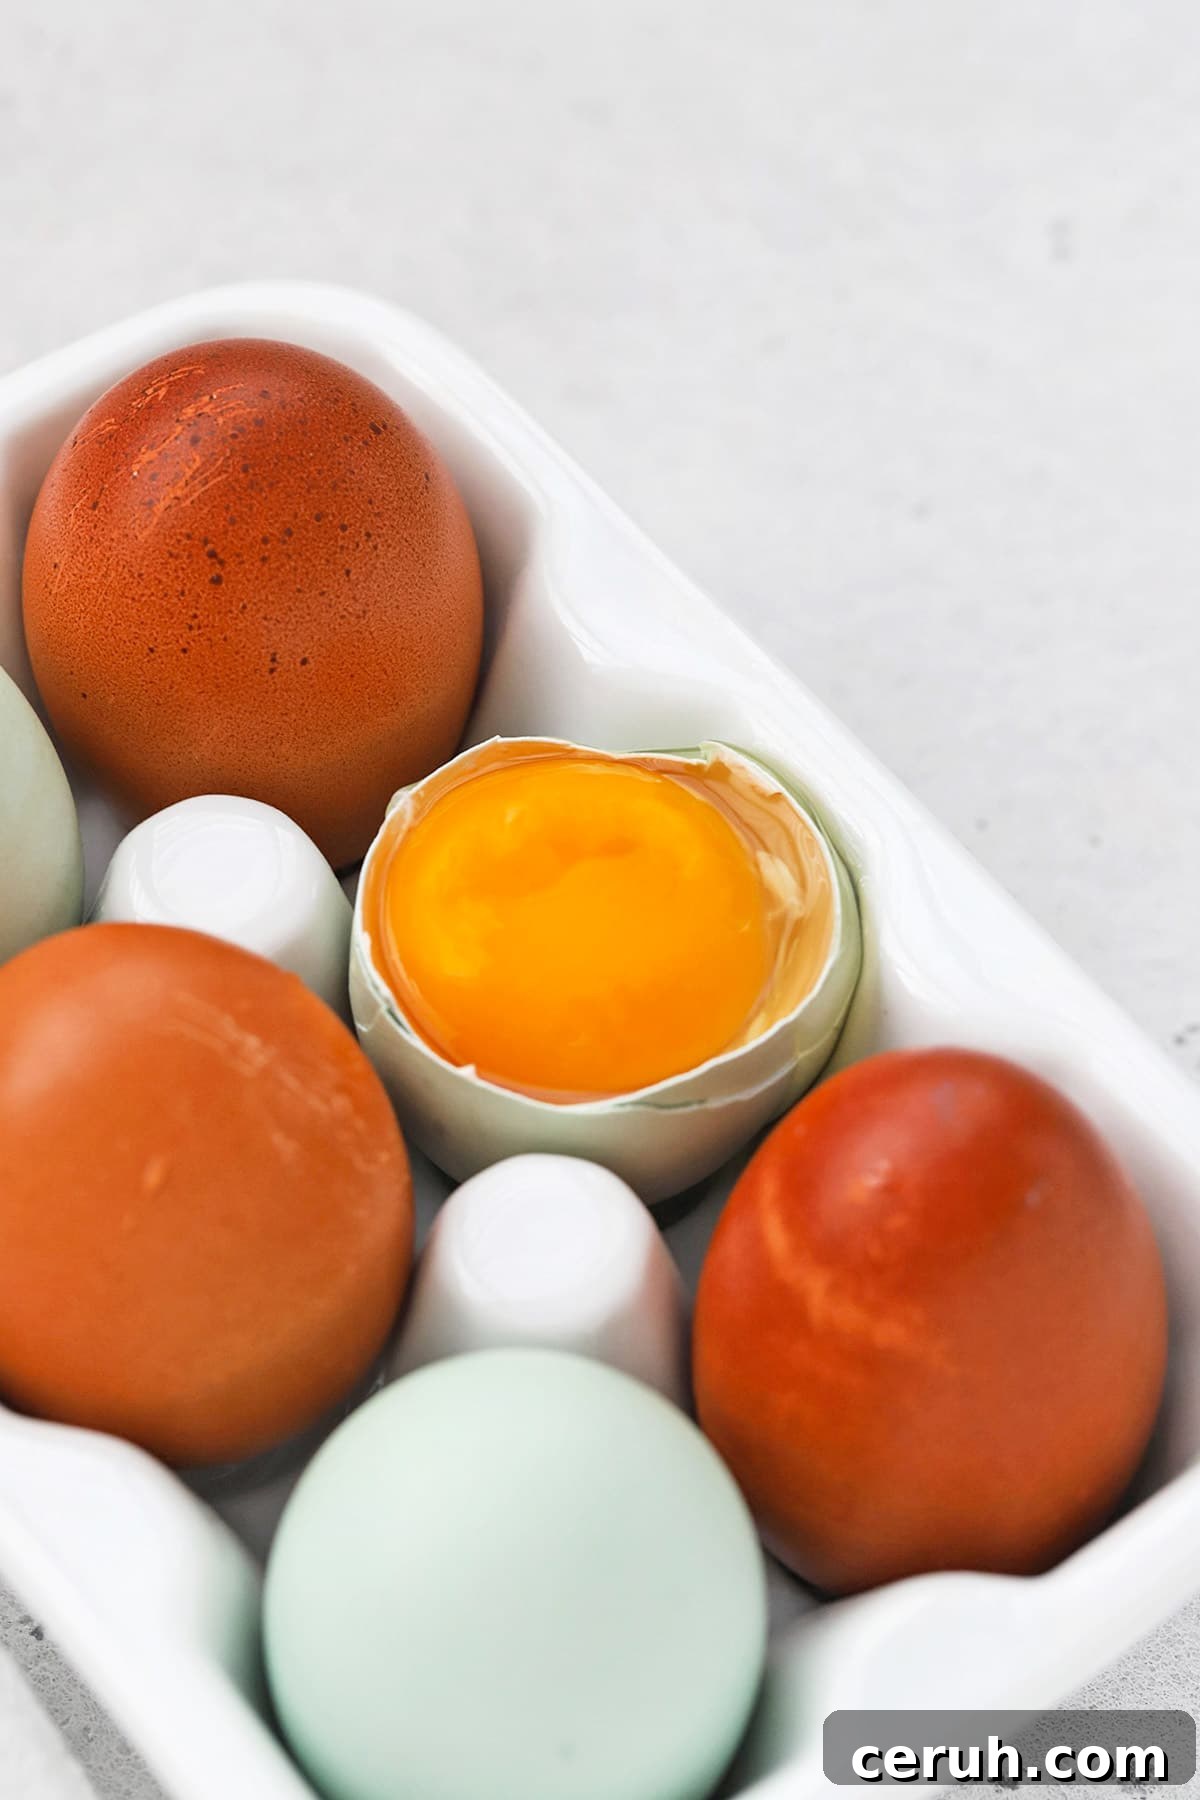
FAQ + Tips and Tricks For Separating Eggs
I got a little bit of egg yolk in my egg whites. What do I do?
If you need to whip the whites to stiff peaks, even a small amount of yolk (fat) will prevent them from whipping properly. In that case it’s best to start over with fresh whites. Whites with a small bit of yolk can still be used for scrambled eggs or other applications that don’t require whipping.
Is it ok if some egg white got in with the egg yolks?
A small amount of white in the yolks is generally forgiving for most recipes. Strain off excess white if you can, but for many baking uses a little stray white won’t cause problems. For delicate custards or precise applications you may prefer to start over.
What can you make with leftover egg whites?
Egg whites freeze well and can be used later for meringues, pavlova, whipped additions to batter, or omelets. Freeze them in portioned containers or ice cube trays for easy storage.
What can you make with leftover egg yolks?
Yolks are great for custards, pudding, ice cream bases, mayonnaise, or added richness in baked goods. You can also freeze yolks (beat with a pinch of salt or sugar depending on intended use) for later use.
How Long Do Separated Eggs Stay Fresh?
- Egg whites: store in the refrigerator for 2–4 days.
- Egg yolks: store in the refrigerator for 2–4 days as well; cover them to prevent drying.
More Easy Baking Tips To Try
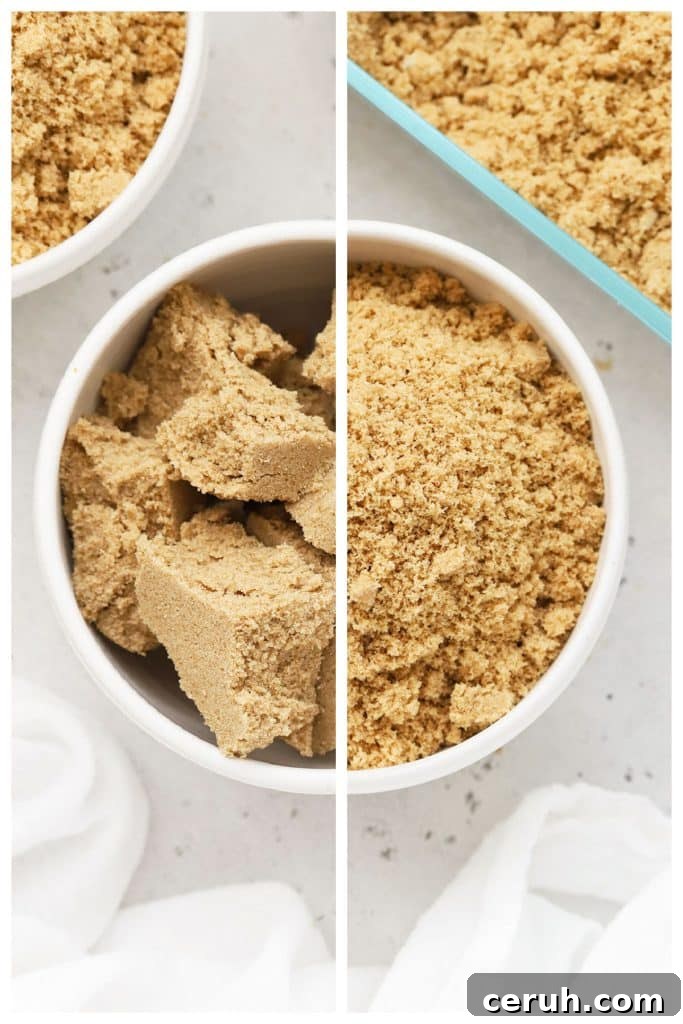
How to Soften Brown Sugar (5 Ways!)
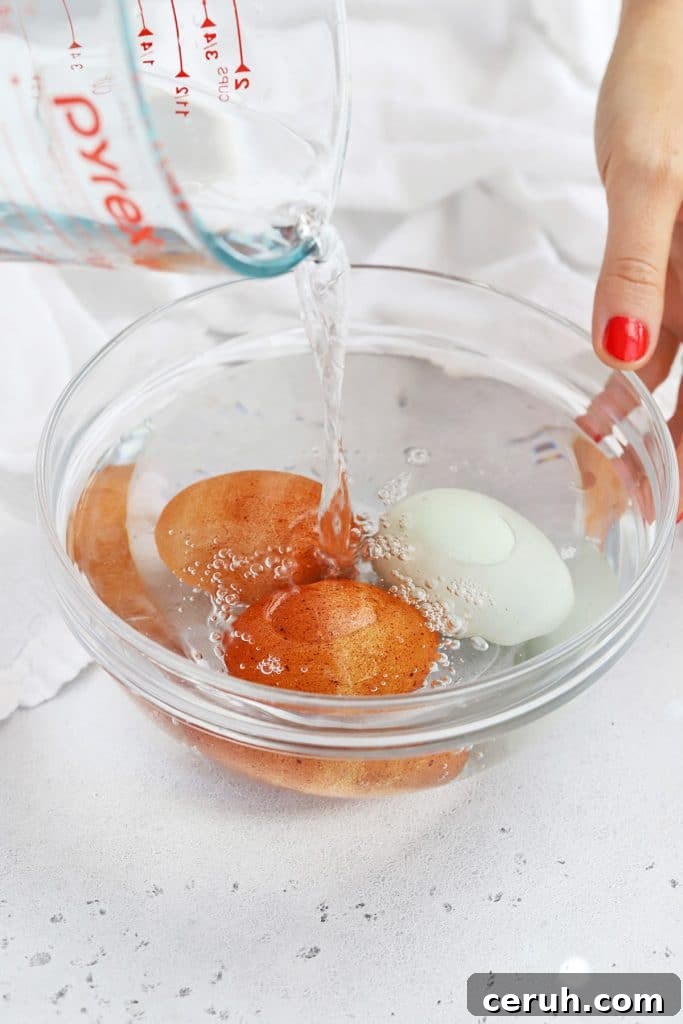
How to Get Eggs To Room Temperature FAST
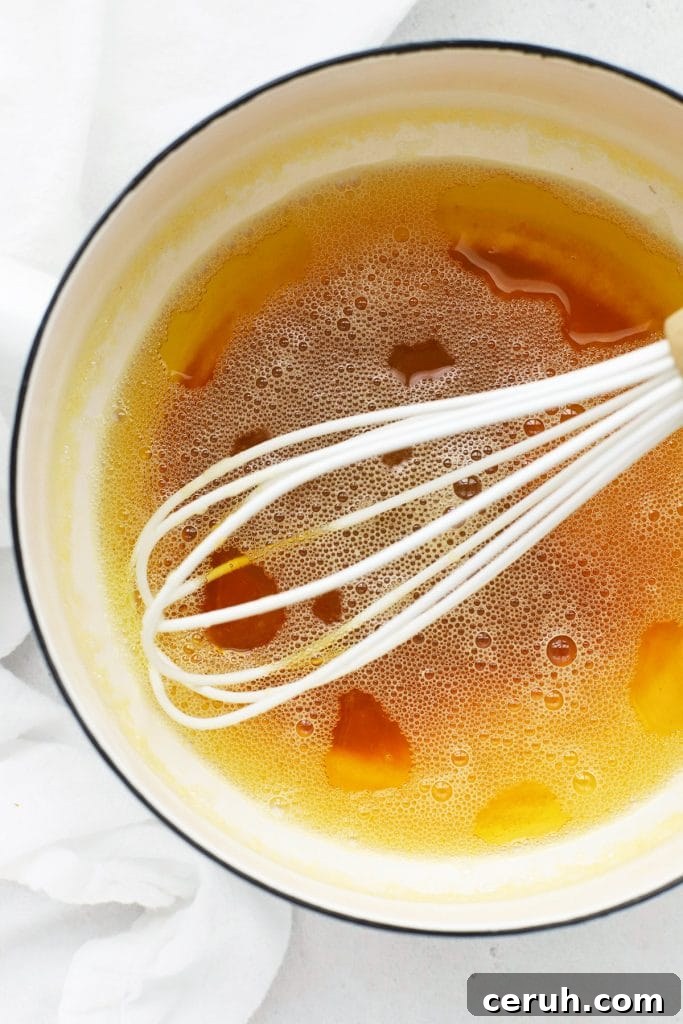
How to Brown Butter (Step By Step!)